I've been working on thinning the back. It's way too thick. I want to do the neck too, and decided to put a truss rod int. I'm still not sure that it will need it if I go with nylon strings, but everyone seems to use them. Most of the things I see look overbuilt, but I guess people would rather be safe than sorry.
The truss rod needs a groove. A deep groove. Most use a router, or a dado blade on a table saw. I have neither, and don't really want them. So I needed to make a plough plane.
The plane is nothing special to look at. I made it from a piece of Brazilian Cherry, Jatoba. A 1/4 X 3 X 24" piece was only $8 at Woodcraft. That works for me. I had a 3/8 high speed tool bit that I milled, and ground down to .216 wide. I made a clamp, and revised it when it didn't work. It is set to work on the 3/4 inch wide piece of Padauk that is going to be the center lamination of the neck. It should work.
It would probably be better to show it after it is proven out, but I'm sure I can get it to work, but I want to make a mock up of the neck/head joint to be sure I have it right first. Then I'll know exactly were the ent of the truss rod will be.
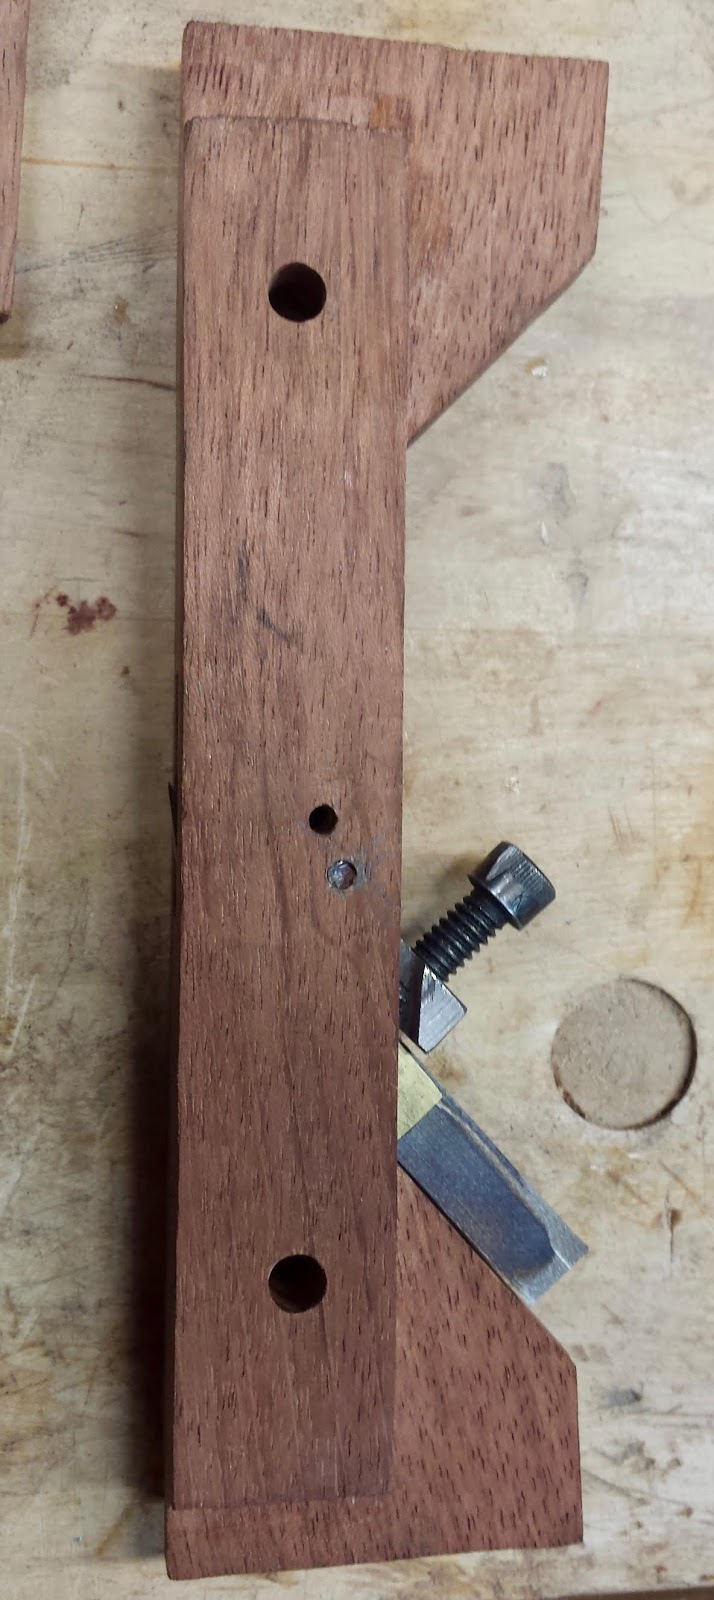

I had to make the top of the clamp wider so I could use a 1/4 bolt.
When you add the sides it turns it into a plough plane. The bottom view shows the wide open throat.
It was easy to make. We'll see if it works.


